By Glyf
Upload → Extract → Export
Glyf’s workflow is intentionally simple: upload documents, extract structured data, then review and export in whatever format you need.
This page is the skimmable version, the one you can forward to a teammate and get a “yep, makes sense.”
Step 1: Upload your documents
Drag your files onto the upload zone, or click to browse. Before anything is sent, Glyf validates the batch in your browser so bad files don’t waste your time.
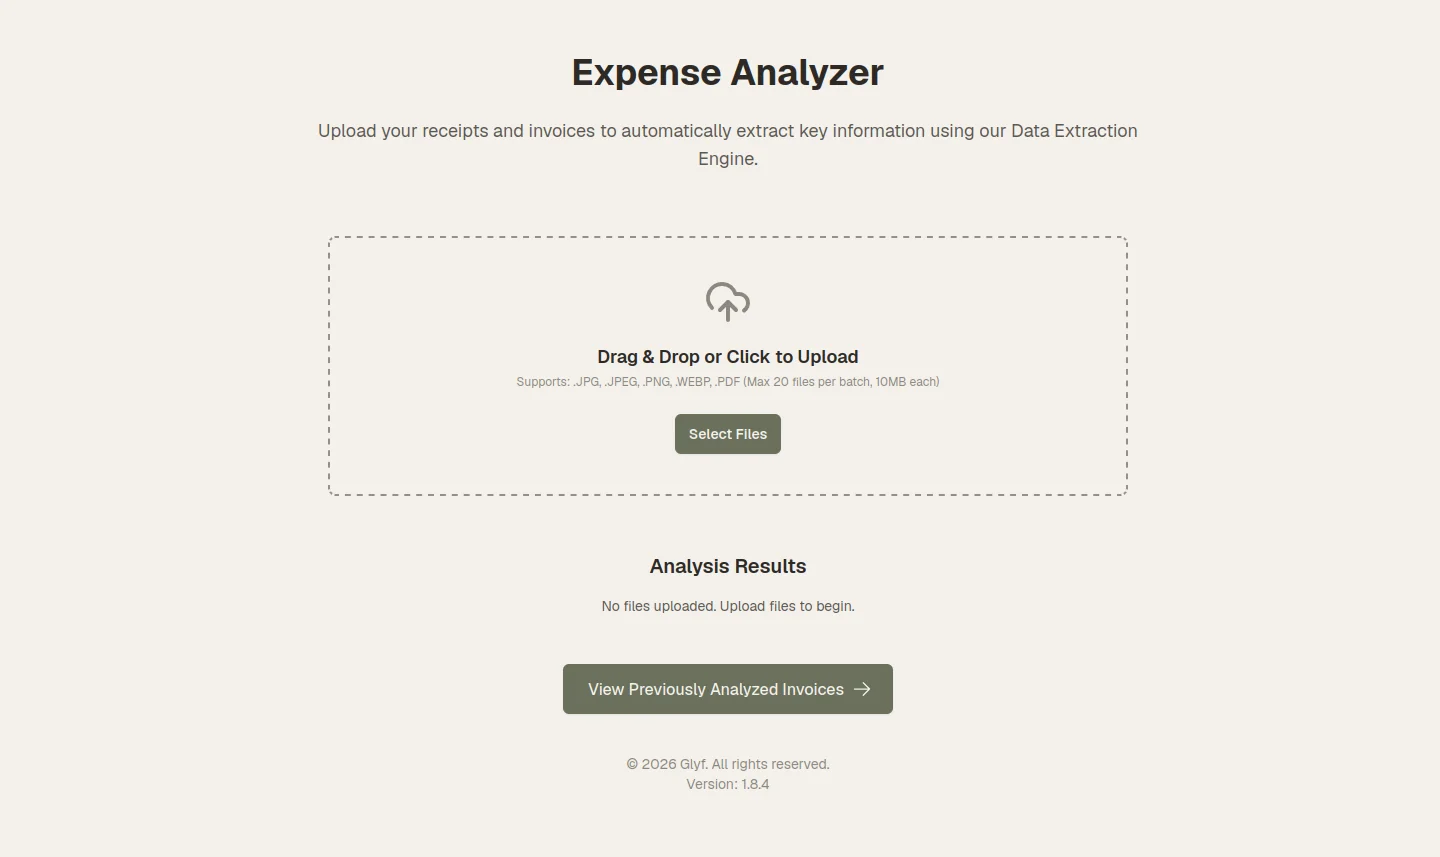
- Supported formats: PDF, JPG, PNG, WEBP (receipt photos work too)
- Batch size: Up to 5 files at once on Free Trial and Starter; up to 10 on Advanced
- File size: Max 10MB per file
- Validation (instant): Type, size, and duplicate checks run immediately: invalid files are flagged before upload
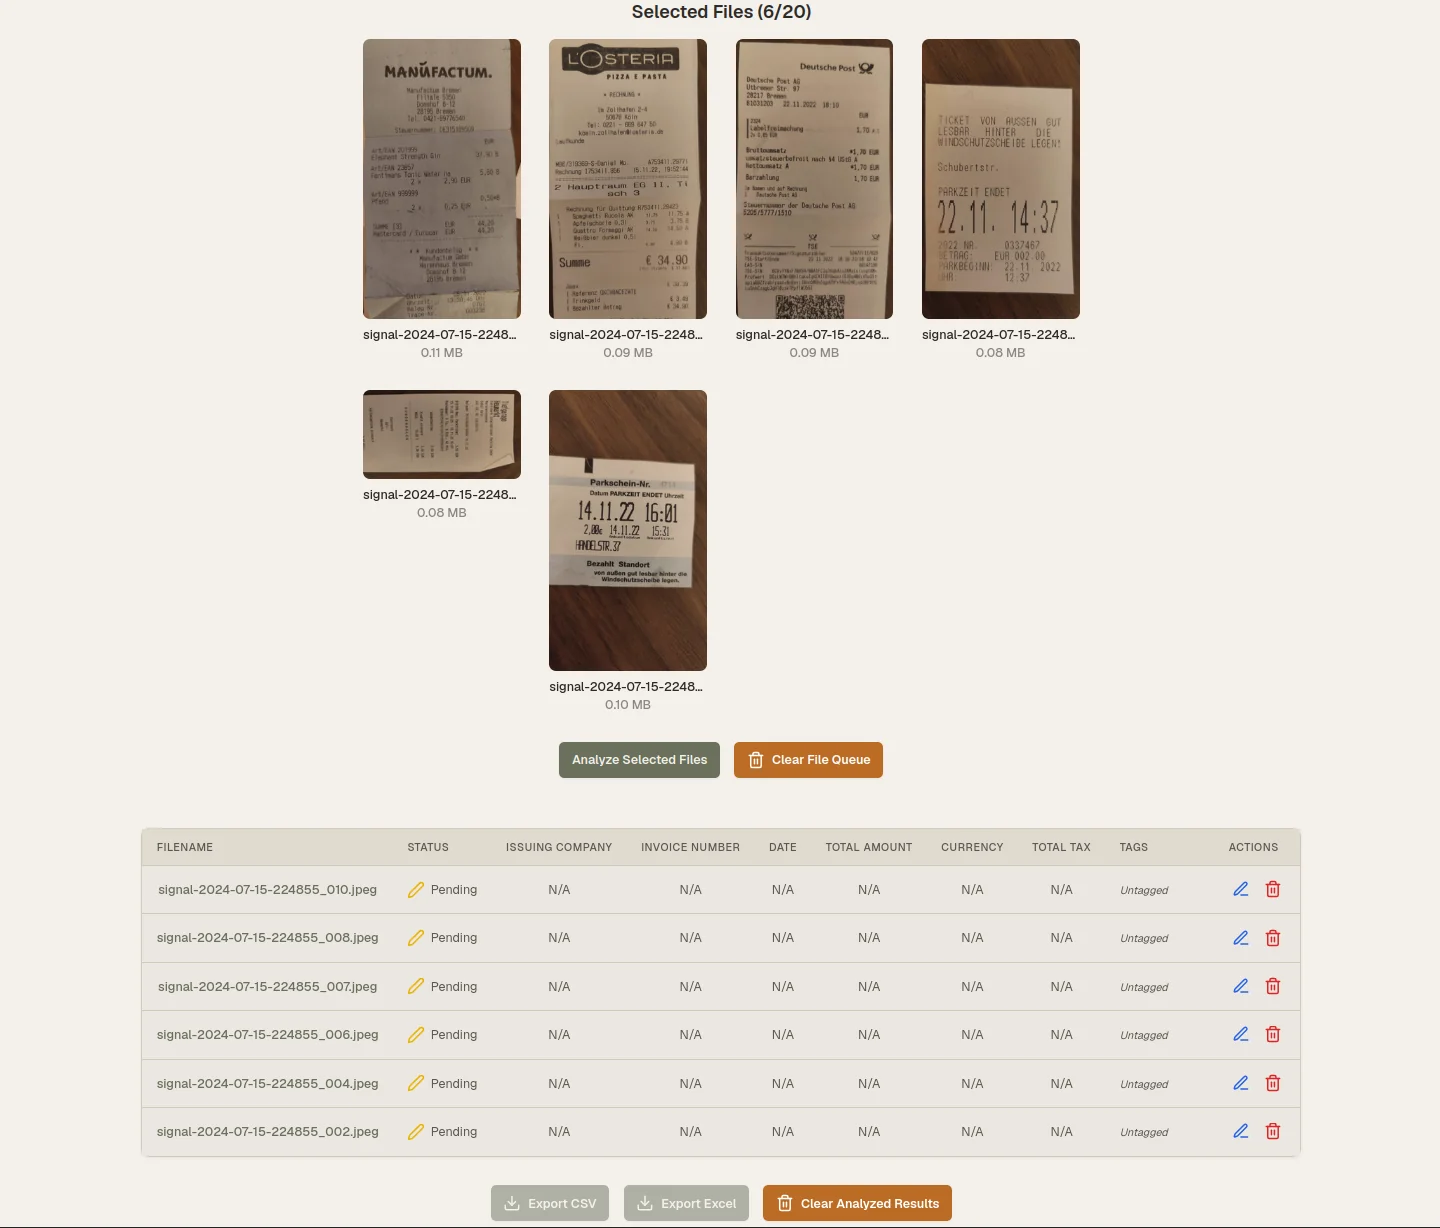
After you add files, you’ll see a preview grid so you can review and remove documents before starting.
Step 2: Glyf extracts the data
Click Analyze. The Data Extraction Engine processes each document and returns structured data you can export.
What gets extracted from each document
| Field | Notes |
|---|---|
| Invoice Number | – |
| Invoice Date | – |
| Issuing Company | – |
| Category | Returned in your language |
| Short Description | Returned in your language |
| Total Cost | Numeric value only |
| Currency | ISO code (EUR, USD, GBP, etc.) |
| Tax Details | Rate and amount, per tax type |
| Line Items | Description, quantity, unit price, line total |
| Payment Method | e.g., Credit Card, Bank Transfer, Cash |
| Discount Amount | If present |
Languages supported for output
English, German, French, Italian, Spanish, Turkish, Dutch, Polish, Portuguese.
If a file fails
That file shows an individual error, while the rest of the batch still completes.
Limits
- Free Trial: 15 total analyses (lifetime of the trial account)
- Starter & Advanced: Unlimited
Want the technical breakdown of how fields are detected and normalized? Start here: Data Extraction Engine
Step 3: Review and export
Results appear in a table. Click any row to open a full-screen review with the document image and all extracted fields side by side.
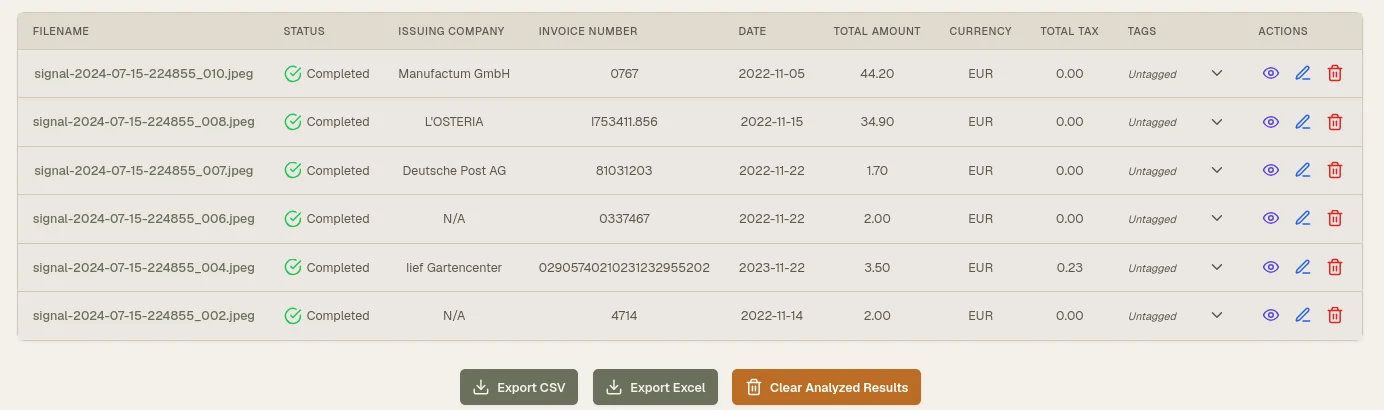
- Edit anything inline: enable edit mode, click a field and type
- Export when ready: Excel, CSV, images, or PDF, in any combination
- Track what’s been exported: each record shows a Last Exported timestamp after export
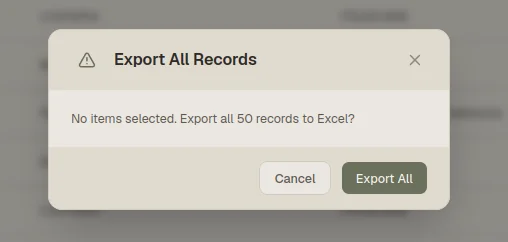
If your end goal is spreadsheet-ready output, this is the export layer: Excel/CSV export
Try it on a real batch
The fastest way to judge extraction quality is to run your own receipts and invoices through it.